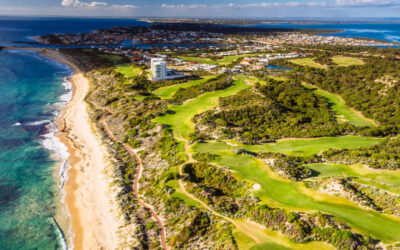
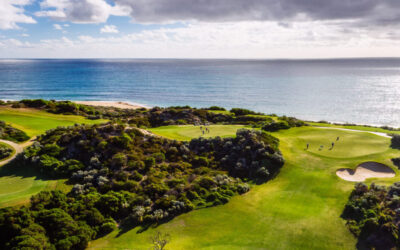
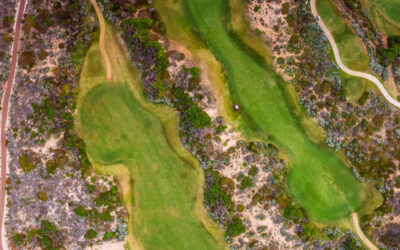
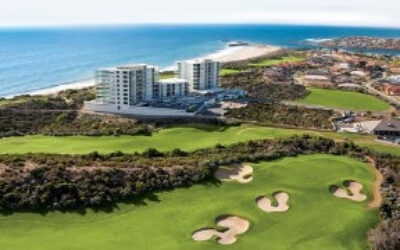
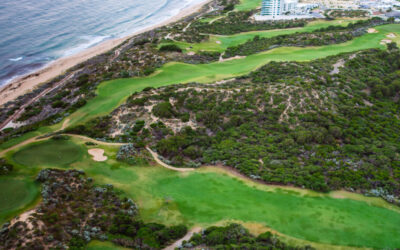
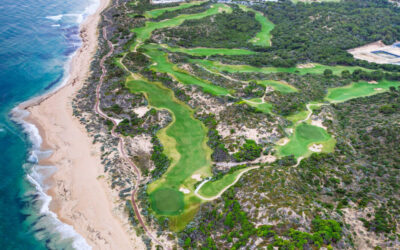
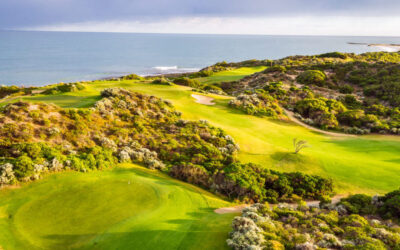
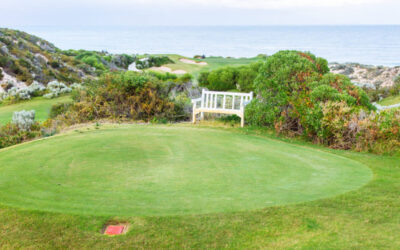
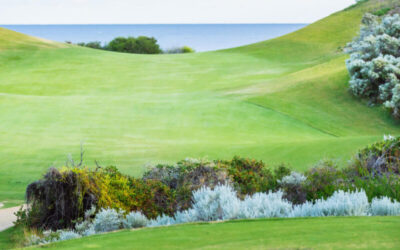
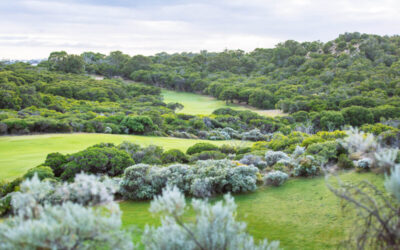
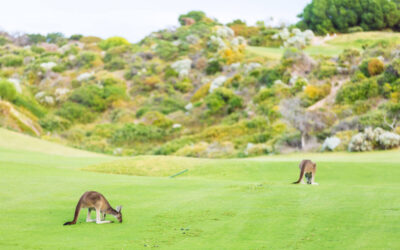
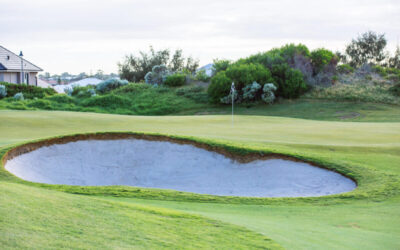
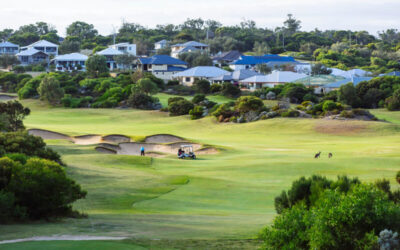
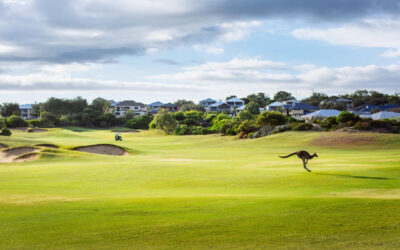
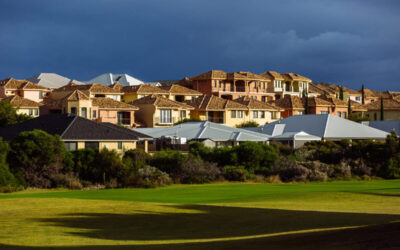
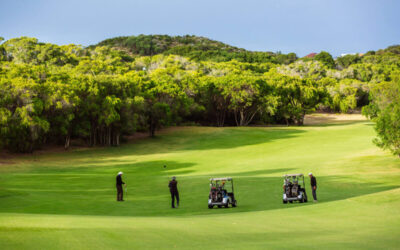
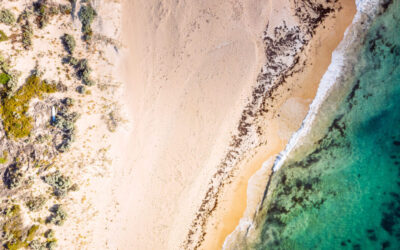
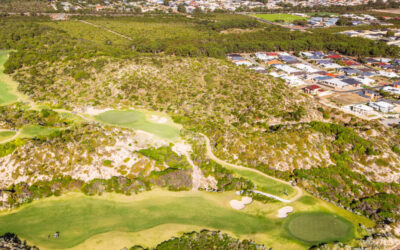
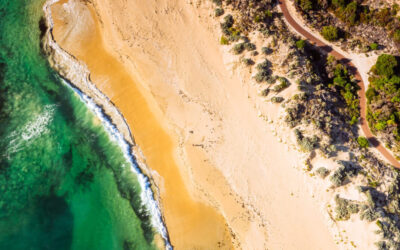
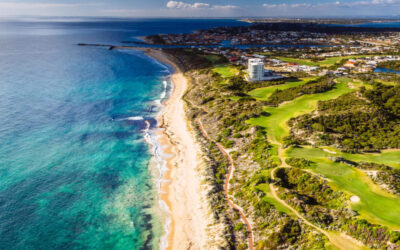
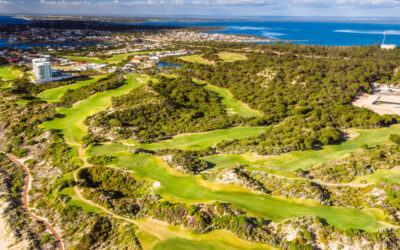
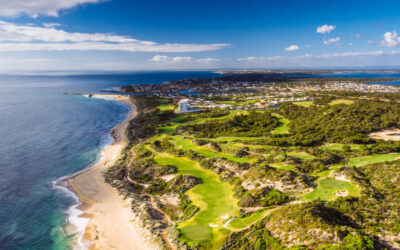
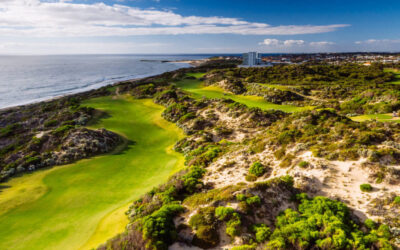
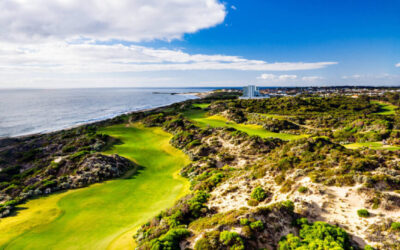
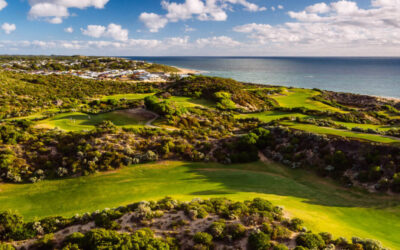
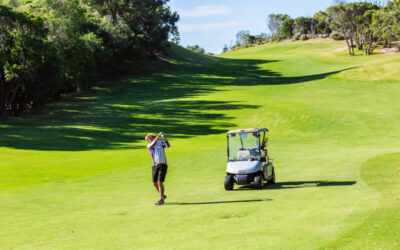
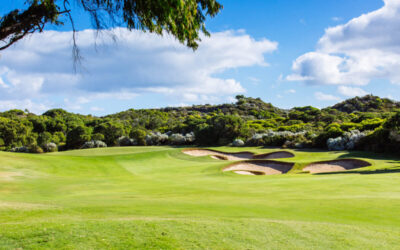
Its stunning links design includes four tees on each hole and fourteen holes with oceanfront views.
At the 3rd, much of the fairway is obscured by a large sand dune. Bunkers in the right side of the fairway are short of a generous landing area, which can be reached by a 3-wood or long iron. 30 metres short of the green, the fairway narrows and the brave may contemplate ‘threading the needle’ with the driver. If successful a birdie or eagle awaits. For most, a short pitch from the wider section of the fairway to a protected green should result in par or better.
As one of the most exposed holes on the Australian coast, the par 4 12th presents a challenge. The fairway meanders between some ruggedly wild sand dunes, which dictate the line of play from the tee. Hitting an accurate tee shot will set you up well to challenge par 4. From the landing area some 15 metres below the tee, the fairway rises to a green that is parked on the beach. A fairway wood or long iron will be needed. Once on the green, the distraction of the crashing waves nearby might be the biggest challenge.
The 18th hole is elevated above the beach, and follows the coast before disappearing inland behind a high dune. A sea breeze will determine the best route. From the landing area, the fairway dips and rolls before climbing steeply to a green perched high on a ridge adjacent to the clubhouse. A cluster of bunkers in the second landing area must be avoided if a routine par is to be made. Hopefully 5 or better closes out the round.


